Online, your photos do the job your hands would do in a shop. Shoppers can't pick up your product, turn it over or feel its weight, so your pictures have to answer those questions for them.
The good news is that the phone in your pocket is more than capable. What makes the difference isn't the camera. It's light, background and consistency. Here's how to get all three right without buying a studio.
Find the right light
Light matters more than anything else. Natural daylight is free, flattering and shows colours accurately.
- Work near a large window, with the window to the side of your product rather than behind it.
- Avoid direct sunlight. Harsh sun creates hard shadows and blown-out highlights. A bright, overcast day is ideal. On sunny days, hang a thin white sheet or baking paper over the window to soften the light.
- Turn off the room lights. Mixing daylight with warm bulbs gives your photos an orange or green tint that's hard to fix later.
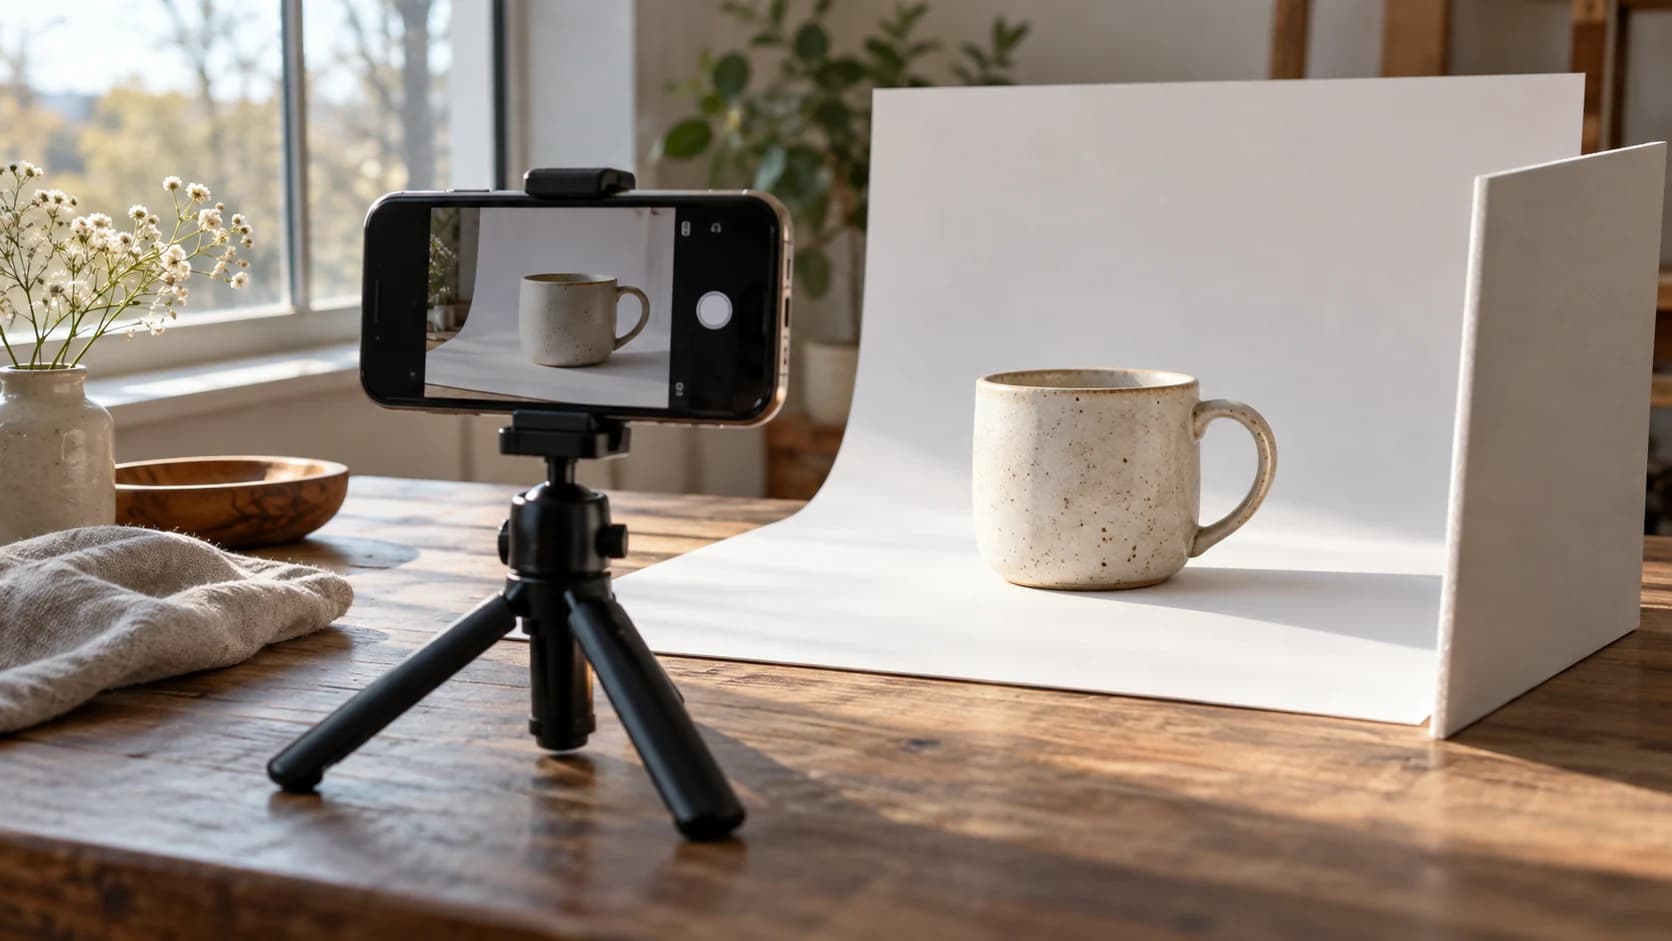
- Use a white card as a reflector. Place a piece of white card or foam board on the side opposite the window to bounce light back and soften shadows.
Shoot at the same time of day when you can, so your photos match from one batch to the next.
Keep the background simple
The product should be the only thing competing for attention.
- For your main photo, use a plain background. A large sheet of white or light grey card, curved up behind the product (a "sweep"), removes the line where table meets wall.
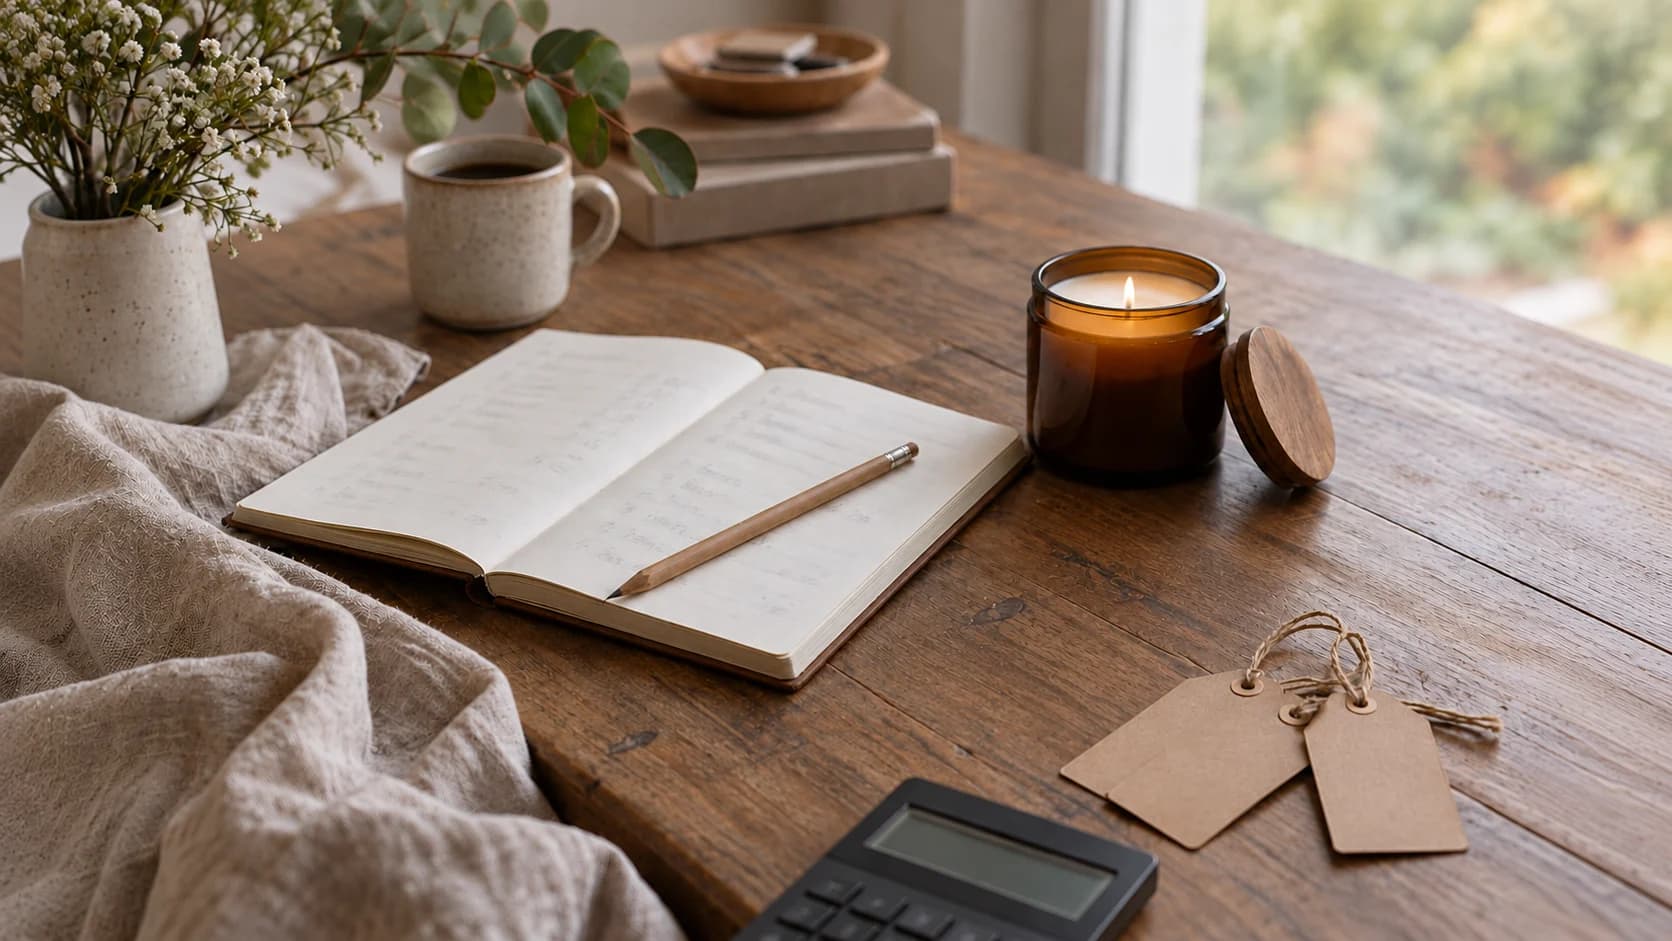
- For lifestyle photos, keep props few and relevant. A mug with a book and a blanket says "cosy evening". A mug surrounded by ten other objects says nothing.
- Pick a look and stick to it. Matching backgrounds across your range make your shop look considered and professional, even if every photo was taken at your kitchen table.
Set up your phone properly
A few small habits make a big difference to sharpness and colour.
- Wipe the lens. Phones live in pockets, and a smudged lens is the most common cause of soft, hazy photos.
- Use the standard lens (1×). Wide-angle lenses distort products up close, and digital zoom loses detail. Move closer instead.
- Turn on the grid in your camera settings to keep lines straight and products centred.
- Tap to focus, then lock focus and exposure (on most phones, press and hold on the product).
- Keep the phone still. A small tripod costs very little and lets you take identical shots across a whole range. A stack of books works too.
- Turn off the flash. It flattens texture and creates glare.
Take the right set of shots
One photo is rarely enough. Shoppers want to see the product from every angle that matters to them. For most products, aim for:
| Shot | What it shows |
|---|---|
| Main photo | The whole product, front-on, on a plain background |
| Angles | The back, side or top, wherever there's something worth seeing |
| Detail | Texture, stitching, materials or a maker's mark, up close |
| Scale | The product in a hand, on a shelf or next to a familiar object |
| In use | The product doing its job, in a real setting |
| What's included | Packaging, accessories or gift wrapping, if relevant |
The scale shot is the one most shops forget, and it prevents a lot of "it's smaller than I expected" returns.
Edit lightly and honestly
A little editing helps. Too much creates disappointed customers.
- Straighten and crop so products sit in the same position in every photo. Square or 4:5 crops work well across shops, marketplaces and social media.
- Adjust brightness and white balance so whites look white, not blue or yellow.
- Skip filters. If a customer orders a sage green cushion and receives something greener than the photo, they'll send it back. Accurate colour is a trust signal.
- Remove backgrounds only when it helps, for example to give your whole range a clean, consistent white look.
Prepare your photos for the web
Before you upload, take a minute to make your photos work harder.
- Rename the files to describe the product, like `amber-soy-candle-sandalwood.jpg` instead of `IMG_4821.jpg`.
- Write alt text for every photo. Describe what's actually in the picture, such as "amber glass candle with a wooden lid on a stone surface". It helps people using screen readers, and it helps search engines understand your products.
- Don't worry about huge file sizes if your platform optimises images for you, but avoid uploading anything smaller than about 1,200 pixels wide, so photos stay sharp when shoppers zoom in.
A quick checklist
Before you photograph your next product, check you have:
- Soft, natural light from the side
- A plain background, the same as your other products
- A clean lens, the 1× camera and a steady phone
- A main photo plus angle, detail, scale and in-use shots
- Light, honest edits with accurate colour
- Descriptive file names and alt text
Start with your best-selling product, photograph it properly, and use it as the template for the rest of your range. Once you've done it once, the next ten take a fraction of the time.
Good photos and good descriptions work together. If you haven't already, read our guide on how to write product descriptions that sell.